Uploading Images to the Wiki
From FlyFF WIki
This tutorial is to show how upload images directly to the Wiki server. There is no need to upload elsewhere first. You can upload directly from your computer. Ok so here is a page that would need an image on the top. Please before uploading images, search to make sure that they don't already exist.
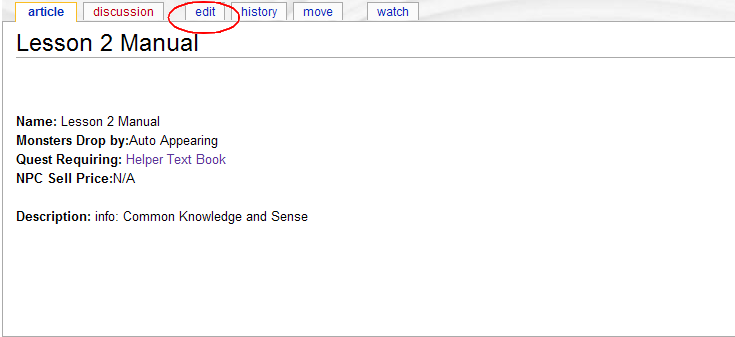
First hit the edit tab
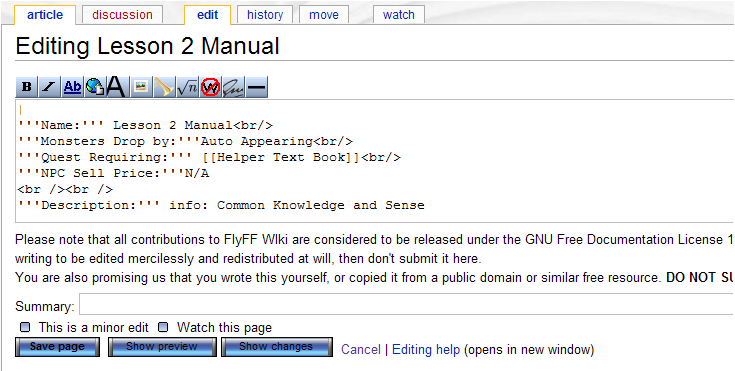
Place cursor at the top of the page Select the icon for image insertion
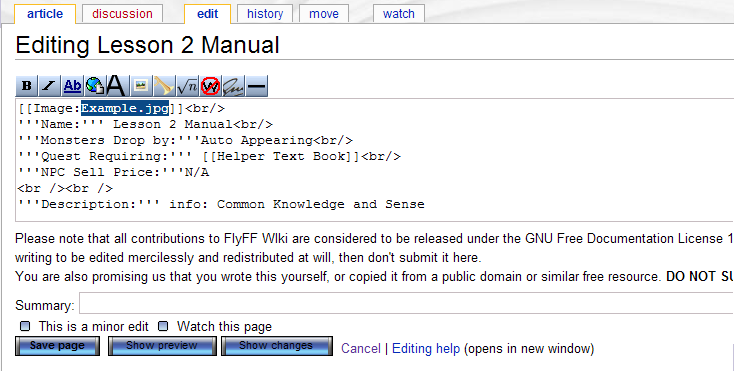
For this tutorial I will not change the name, but you would insert name and file format. Please do not use gif except for small icons no larger then 32px their resolution is too grainy, jpg is the preferred format. Press Show preview
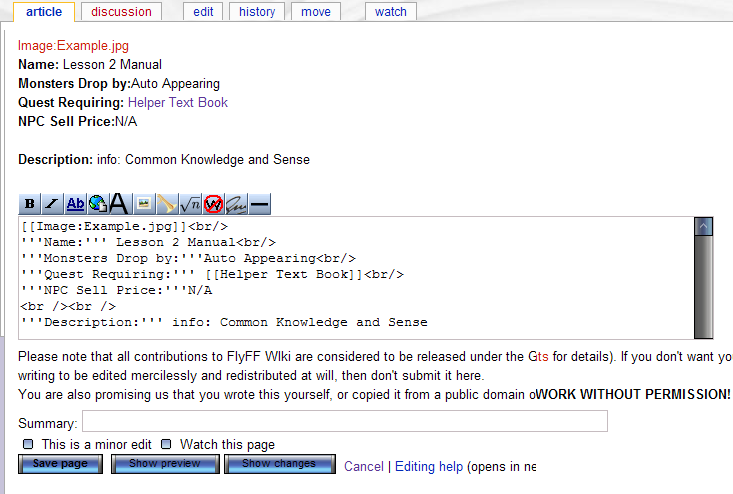
As you can see, you have just created a link to a page. Notice that the link is red. This is because the image does not exist yet. Always try to use the items real name that way if someone else needs the same image he will find it right away. If by chance you get an image that already exist but is not what you want simply add a number to the name. ex [[image:Example2.jpg]]
Save your page Then press the link you created
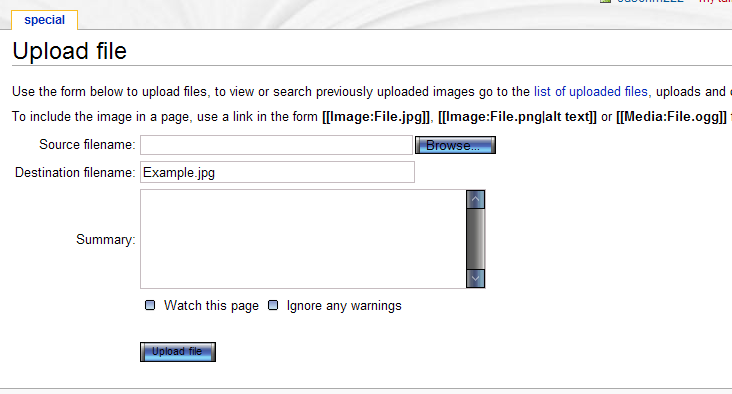
This will open a upload window. Select Browse.
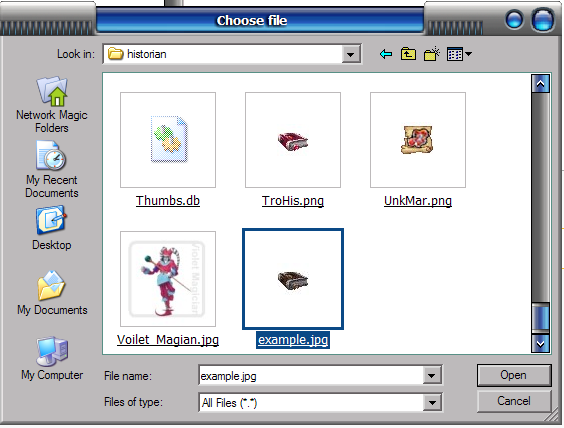
Now select image to upload and press upload button. Note that image size in max 150kb. They ask us not to upload images that are larger. In my experience that is about a 600px by 400px image. For larger images you might have to reduce quality( i wouldn't) just make smaller image.
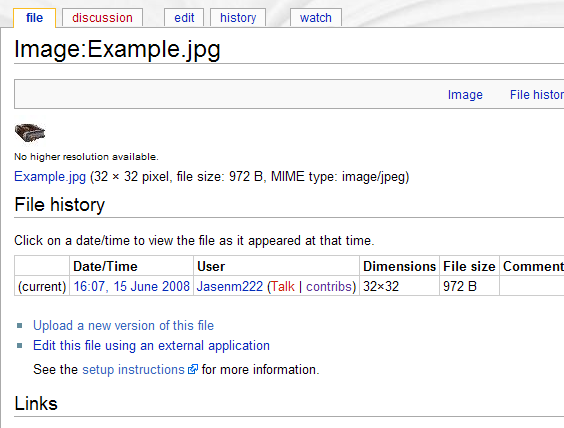
This will take to the new index page for your image.
Now look in the links section at the bottom of the image index page and you should see the page you added your new image to. Select it
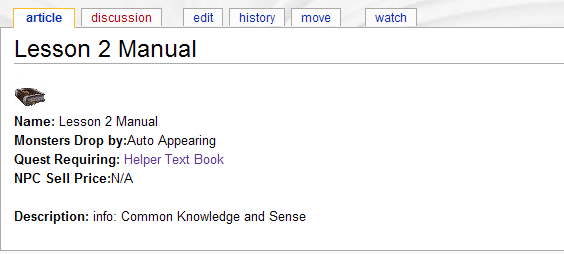
There you go. You successfully , (I hope) uploaded an image directly to the wiki.
I hope this was helpful.

